Best Dutch Oven for Bread Recipe
Do you love bread baking? Are you looking for the best Dutch oven for bread? If so, you’ve come to the right place. In this blog post, we will discuss the different types of Dutch ovens available and which one is best suited for making bread. We will also provide tips on how to make perfect homemade bread every time and include some delicious bread recipes. So, whether you are a beginner or an experienced baker, read on to learn more about Dutch oven bread making!
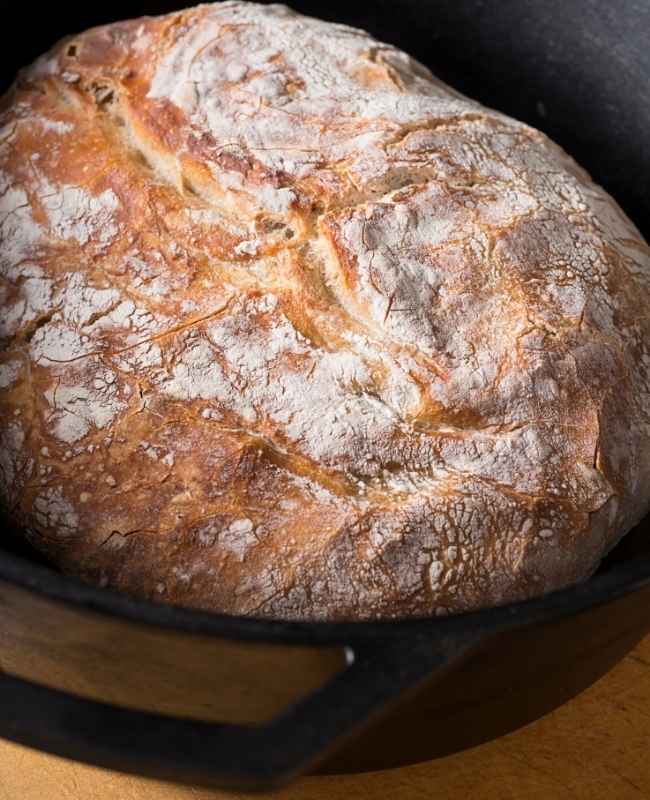
Commercial bakeries have a special type of oven that allows them to pump steam into the bread during its first part, which keeps it moist and full with rise before setting. Since we obviously don’t have the space or the capabilities that, we are going to show you to make the best dutch oven for bread at home.
The heavy, thick-walled Dutch oven is the best choice for bread baking. It allows better heat retention which helps get even browning on your loaf of tasty treat!
Different Types of Dutch Ovens
Dutch ovens are made in many different shapes. The type of dutch oven you use is important. It must be oven-safe up to 450°F (230°C) and have a tight-fitting lid. The best one for bread making will be a round pot with two handles and a lid. It can be cast-iron, ceramic or enameled steel (i.e., Le Creuset).
We like to use the cast-iron Lodge Dutch Oven line with heavy lids, but that’s just because that is what we use when camping. You will find and an enameled dutch oven doesn’t work well on an open campfire! Since these are expensive, the best way to think about which one you need to purchase is to ask yourself what you will be using it for.
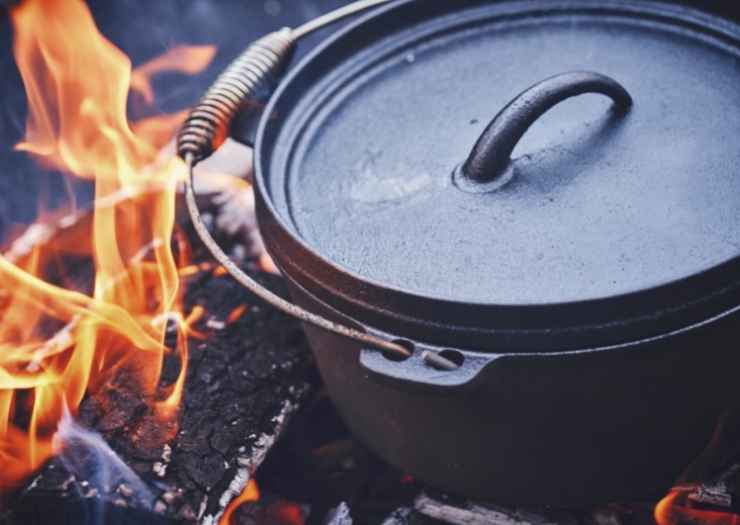
A cast -iron dutch oven is the best option when cooking on the campfire. Today, there are many different styles of ovens available some with flat bottoms and double handles (normally made of cast-iron). Having a cast iron pot for the campfire is a must for most RVers and campers. A good dutch oven has high utility for many recipes, including meats, soups and stews, one pot meals, breads, and even desserts.
If you decide to use an enameled cast-iron Dutch oven, remember not to preheat it empty and don’t bring it up to temperature on high heat. Otherwise the metal will be prone to cracking. High temperatures can still be achieved, but you must bring up the enameled metal temperature slowly. Ceramic and enamel-coated steel versions shouldn’t be used on campfires or open flames but can still be used on induction burners. We love Le Creuset Dutch Ovens if you’re looking for a large size enamel oven. Try the Le Creuset Signature Enameled, 5 ½ Quart or for a more budget friendly option try the Lodge Enameled Dutch Oven, EC6D43.
On the other hand, a Dutch oven with an enamel coating also has a ton of uses. It’s a great option for cooking on the stove at home, and having a pot that you can cook with on the stove and also put into the oven.
When baking in a Dutch oven, it’s important to use the right size for your needs. If you go too small then there will not be enough steam and heat close enough around the bread as well because of all the empty space inside of them; on top of that problem with being unable-to restricted its growth either!
A cast iron dutch oven is best because it holds heat very well and is perfect for using on the campfire. The lodge cast iron dutch oven is the most affordable option. I suggest the 5 qt or 6q because it will give you the most flexibility. You’ll be able to use to make more than just bread. If you have the money thought I would opt for the Lodge Combo Cooker.
Features to Look for When Choosing a Dutch Oven:
Since this piece of cookware is typically one that you will spend more money on, here are some things to look for when choosing a good Dutch oven for your household:
- The right size! The 7 quart Dutch oven is a good size for a family.
- Metal knob and handles- this allows the entire pot to go into the oven
- Oval shape vs round Dutch oven- if you will be cooking larger meats like a whole chicken, this is an important factor
- Loop Handles- look for a sturdy oven with large handles for ease of moving from hot surfaces
- Fitted Lid- some ovens have a lid that just sets in place gently. Look for reviews talking about the lid
- Weight- if you have limited strength or accessibility, a heavy pot may not be an option. Consider this before purchasing.
- Different Colors- enameled cast-iron Dutch ovens can come in a variety of beautiful colors. Find one that matches your style and decor!
- Your cooking needs- Are you buying it for the stove, special occasions, or even the campground?
- Temperature limits- look for a pot that can withstand extreme temperatures of an open flame, if needed.
Today we will be sharing two different dutch oven bread recipes. Once that can be made over the campfire and one you can make at home.
Best Dutch Oven for Bread on the Campfire (No Kneading)
This Best Dutch Oven Bread is easy to make on a campfire. It can easily go from the hot flames of a fire straight into the coals to cook, without worrying about damage. Cooking with Cast-iron at the campsite is best since it can withstand higher temperatures and will distribute heat evenly across all sides of your loaf. We use the lodge cast iron dutch oven. Also, make sure you have a lid lifter or some tongs, these things get hot! The best part of about this recipe is there is no kneading involved. For this recipe you won’t need to purchase any fancy bread flour. Just regular old all purpose flour will do. I just love the crackly crust of this bread recipe.
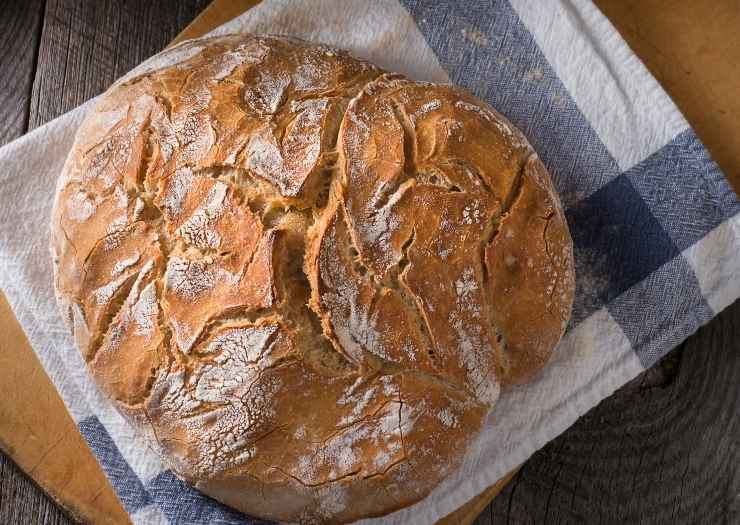
This recipe is a crusty bread that goes well with hearty soups and stews you will probably be making at the campground. It reminds me of artisan bread that you can find at the grocery store. Those loaves of bread can run $3-6 easily, so if you have the opportunity to make your own, it’s a great money-saver!
You can definitely still make this in the conventional oven, so if you’re not outdoorsy or have plans to camp soon, there’s no need to put off making this recipe.
What you need:
3 Cups Flour (1/2 cup for reserve)
1/4 Teaspoon Salt
1 Tablespoon Sugar
1 Package of Yeast
Olive Oil
1 Cup Warm Water
In a medium bowl, pour in your yeast packet. Add warm water and let it set for 5 minutes. Next in a separate bowl, mix 2 1/2 cups of flour, sugar and salt well. Pour mixture of yeast and mix together. If the dough is sticky just add a ,little of your reserve flour. You want to make sure the dough doesn’t stick to your fingers. Oil a large bowl and add your dough. Cover with a towel and let it rise for about 30 mins in a warm dry place the punch it down. Recover and let the dough rise for another 30 minutes. Place a dutch oven parchment paper into your dutch oven. Once it’s done form into a ball and place in cast iron dutch oven.If you don’t have the parchment paper just make sure your dutch oven is well seasoned. You are going to need about 35-40 pieces of charcoal. I put about 10 under the dutch oven and about 28 on top. This bakes the bread at about 425 degrees. Bake for about 20 minutes but check on it about 15 minutes in. You just want to make sure it’s golden brown on the top but not burnt.
The Best Dutch Oven for Bread
Dutch ovens are typically used to make savory dishes like soups or stews, but they can also be used to make delicious bread. Bread dough is best prepared by kneading the dough and then letting it rise. If you’re interested in learning how to bake bread using a Dutch Oven, this is a great recipe to start with.
When dough is placed in a container with an airtight seal, steam released during the initial stages of baking goes back into the dough. This creates moisture retention. The additional moisture helps create crispy crusts and maximizes the dough volume. I also think a good sourdough bread would be great as well.
If you love cooking in your dutch oven check out some of our other dutch oven and dutch oven camping recipes.
FOLLOW US ON SOCIAL MEDIA
- Facebook Group
- Explore Oklahoma Facebook Group
- TikTok
- Hot Deals Group
- Recipe Group
- Homesteading Facebook Group
- Don’t forget to invite your friend’s to our Facebook groups! We would also love to see your vacation pictures!

